Before & After: Cape Cod Renovation
This outdated home in Osterville, Massachusetts was purchased with one purpose in mind: a high-end flip. The tired beach retreat hadn’t been updated since the 1960’s and required larger bedrooms and more bathrooms. The buyer hired You’re Home Custom Interiors to coax the potential out of this clunky ranch with beautiful bones. Cape life focuses on the outdoors, so along with a full renovation of the interior, our client had plans to maximize the backyard into a secondary living space including a complete overhaul of the pool, a new custom fire pit and modern hardscaping.
 After: Front of house
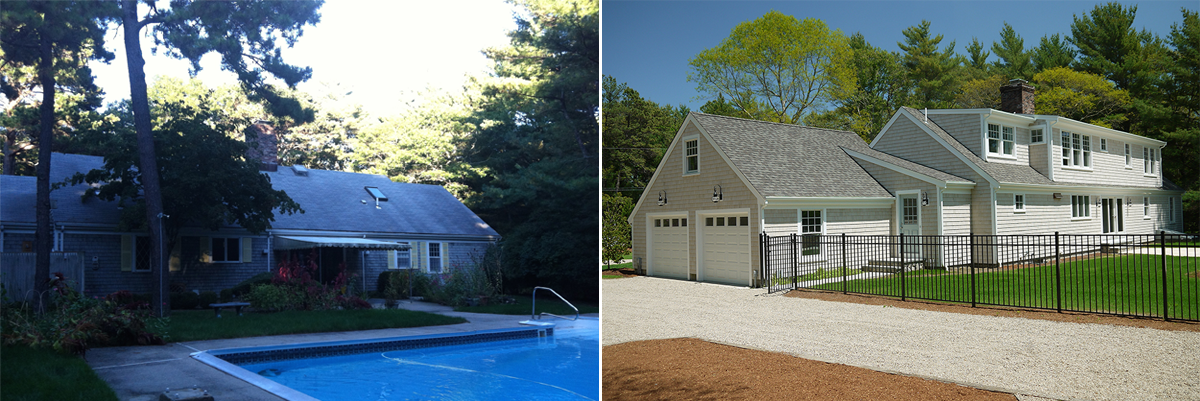
Left: The back yard and pool before the renovation
Right: The new exterior and simplified landscape
When more space, light and bathrooms are needed and you can’t expand out, you go up! A shed dormer was added to the partially unfinished second floor, creating an opportunity to add a second master suite. The new, luxurious suite includes a charming master bath with soaking tub and separate walk-in shower. A large “kids” bathroom was another bonus from the new space and works to service the existing spacious bunk room.
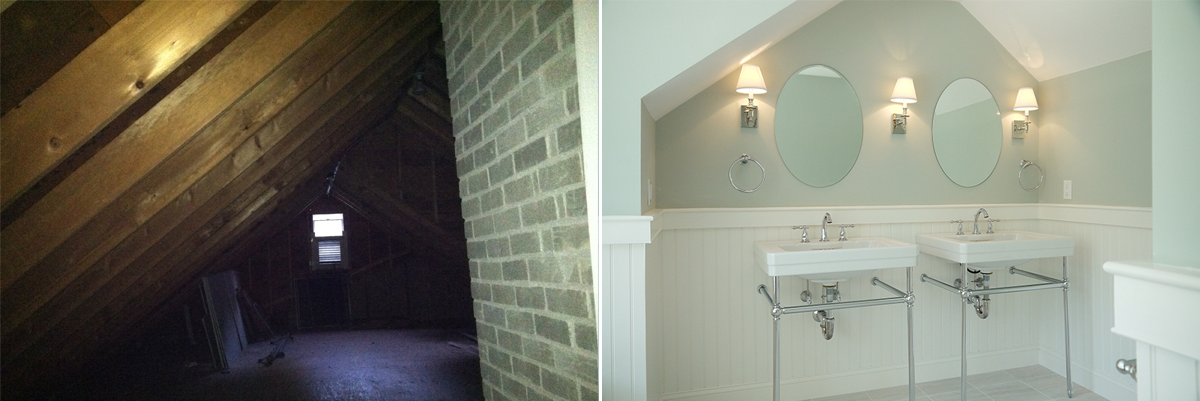
Left: Unfinished attic space was expanded to create a new master bath and bedroom
Right: The new master bath is finished with beadboard and filled with light
While the changes to the second floor were dramatic, the overhaul of the first floor was revolutionary. The flooring throughout the entire home was changed to a wide plank oak which was custom stained in a perfect, beach-inspired finish. The mural on the dining room wall was painted over in a neutral sandy color. New lighting was added in the dining room, foyer and kitchen.
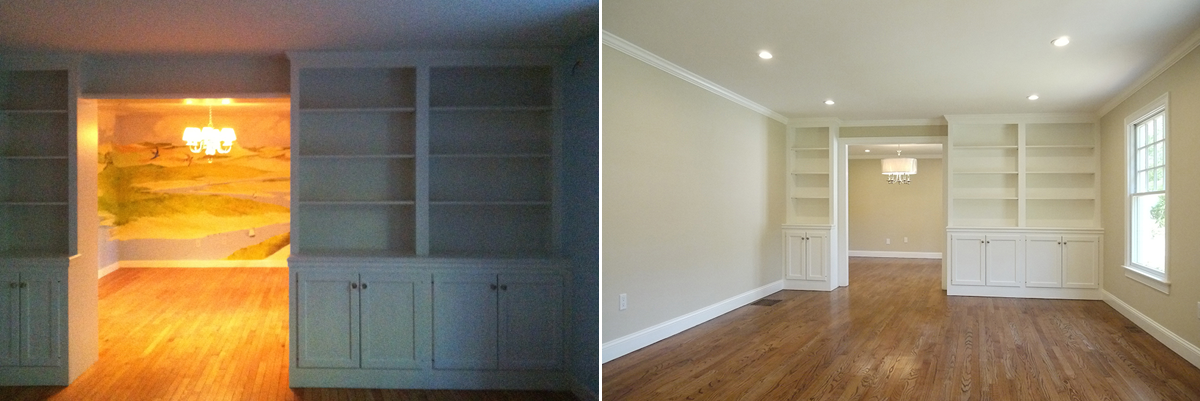 Left: Before, the dining room featured a hand painted mural
Right: After, the dining room and living room get a fresh coat of neutral paint
The kitchen was an outstanding transformation. First, the door to the butler’s pantry in the dining room was removed to widen the opening to the kitchen. The original “U” cabinet layout was choppy, and the separate eating area was small and awkward. By eliminating two peninsulas and replacing them with an oversized island, the kitchen gained more workable prep space and additional seating.
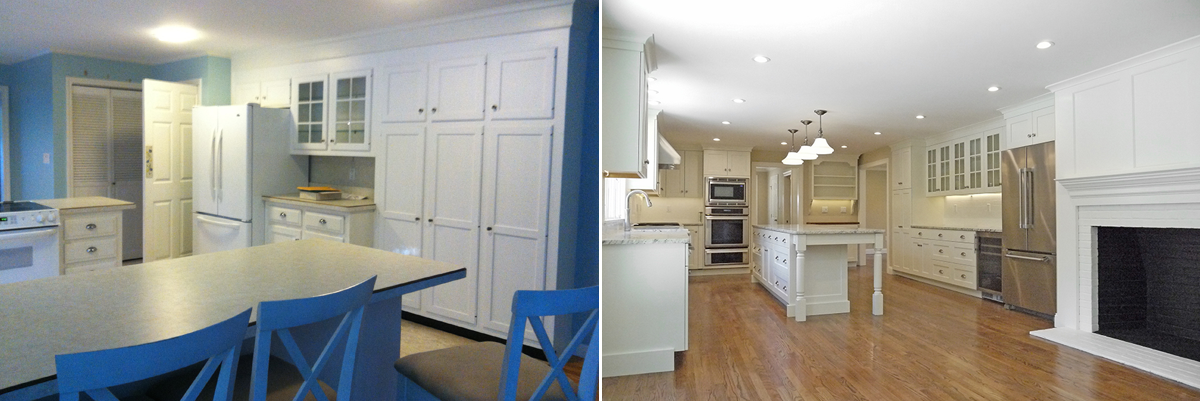 Left: Before the kitchen was dark and had an awkward layout
Right: After the remodel the kitchen became more spacious and functional
With today’s active family, a command station is a must. Eliminating an unnecessary closet freed up space near the mudroom entrance for a “drop zone” with file storage, a bulletin board area and plenty of power outlets.
A beverage center was added for easy access to drinks, eliminating the need for the extra-large fridge to be opened repeatedly. The new cabinets utilize a deep drawer system – perfect for housing dishes, pots and pans. Recessed and under cabinet lighting was utilized to eliminate dark spots in task areas.
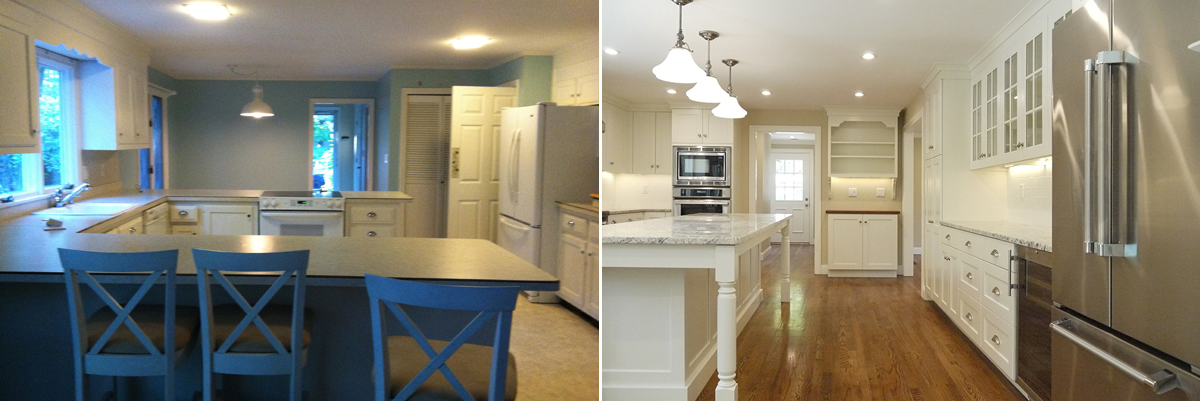
 Top, Left: Before, the kitchen had a “U” layout
Top, Right: After, the kitchen expanded into under utilized areas doubling in size
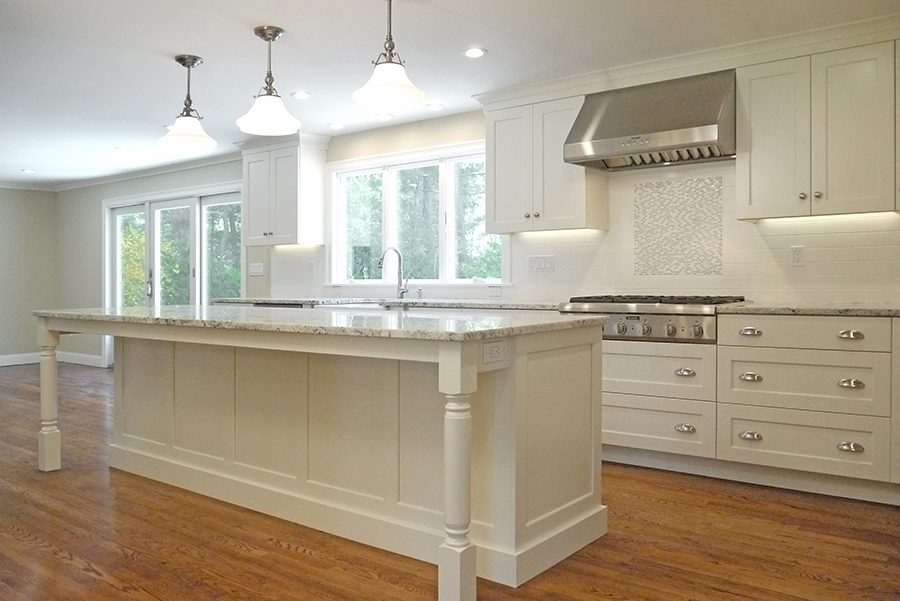
Bottom: After, the small peninsula was replaced with an oversized island
Granite countertops, porcelain subway tiles, marble and mother of pearl mosaics, white painted cabinets and classic lighting pair with stainless, high-end appliances to create a clean, fresh space filled with light and perfect for entertaining.
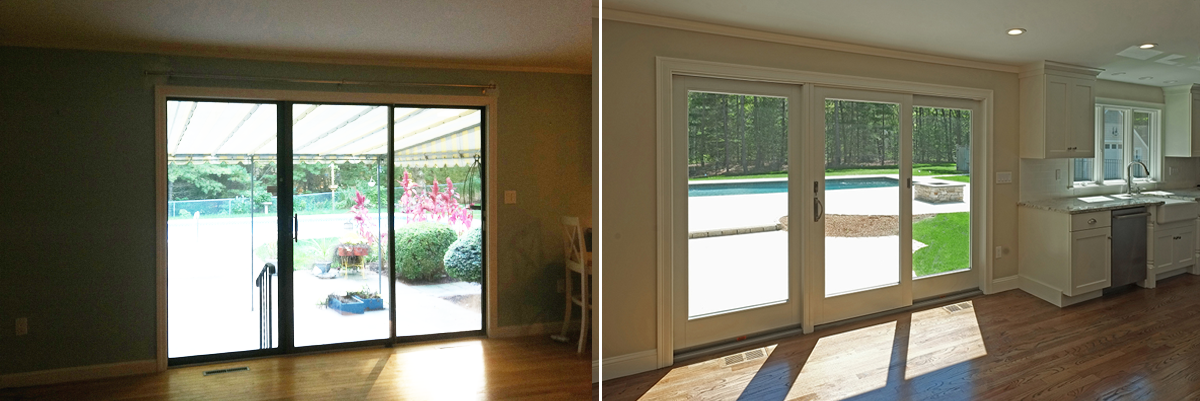 Left: Before, an awning blocked natural light from entering the kitchen
Right: After, the kitchen is now flooded with daylight
Downstairs, the overbearing awning was removed over the patio door to let in more light and allow easy access to the outside entertaining area. Overgrown evergreens and perennials were cut back in favor of more lawn and dining space.
Originally, the first floor contained only three small bedrooms and two outdated bathrooms. To create a master bedroom retreat, two of the tiny bedrooms were combined. Two bathrooms, previously back to back, were reconfigured into a large master bathroom and ample guest bath. A powder room on the main floor was also given a significant facelift.
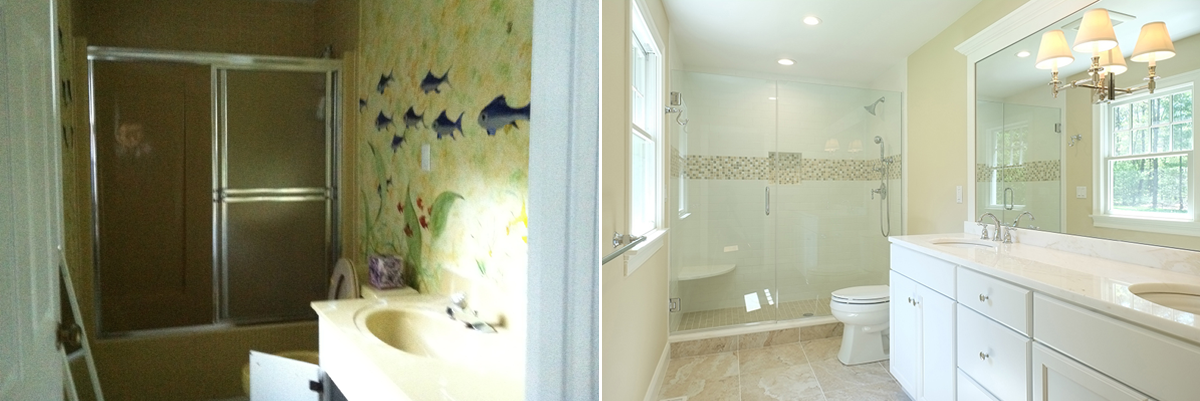 Left: The main floor bath was very outdated and lacking in storage space
Right: After the remodel the bathroom sports a new vanity for storage and lots of light
A few thoughts on choosing materials for updating your bathrooms:
Tile shopping can be daunting – but a great designer can help you whittle down a vast selection into a coordinated collection perfect for the needs of your space. Tile has come a long way – possibilities are endless and a lot of fun. If you’re thinking of resale, you can still incorporate interesting, creative choices as long as you keep it relatively neutral and not too “cute.” A way to put your stamp on your remodel without scaring off potential buyers is to use an accent tile in the shower, such as a mixed material mosaic (stone and glass, for example). You can create a unique look by running a thick band of accent tile just below eye level and through the built-in niche. Second, think about changing up the tile direction. Large tiles run horizontally creates a modern, dramatic look – and if done in a neutral tile, the look is instantly classic.
Today, the countertop material of choice is natural or engineered stone. Quartz composite brands such as Caesarstone or Silestone are beautiful, durable and give you a high-end look for less. Most stone (with the exception of marble) is easy to care for and resists staining, making it the top go-to material for both bathrooms and kitchens.
 Above: A light fixture mounted onto the mirror is a fresh, modern look
Another great, modern look is to mount your lighting directly to the mirror. The mirror helps amplify light in the space, making tasks such as putting on makeup or styling your hair easier and brighter. Also, if it is within your budget, consider a “frameless” glass shower enclosure. The look is clean, unfussy, and sure to appeal to all potential homebuyers.
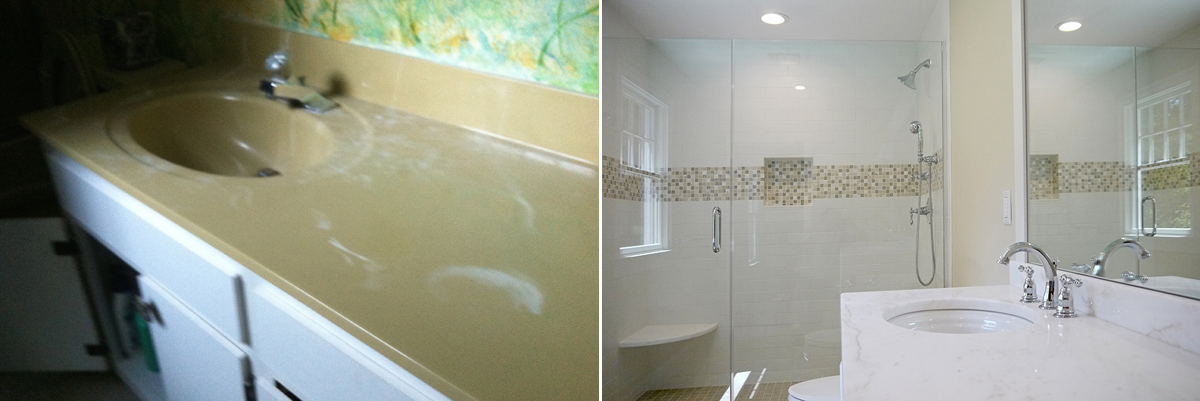 Left: The vanity top before renovations
Right: The vanity top is replaced by a quartzite top and backsplash
photo credit: Jon Moore, Architectural Photography